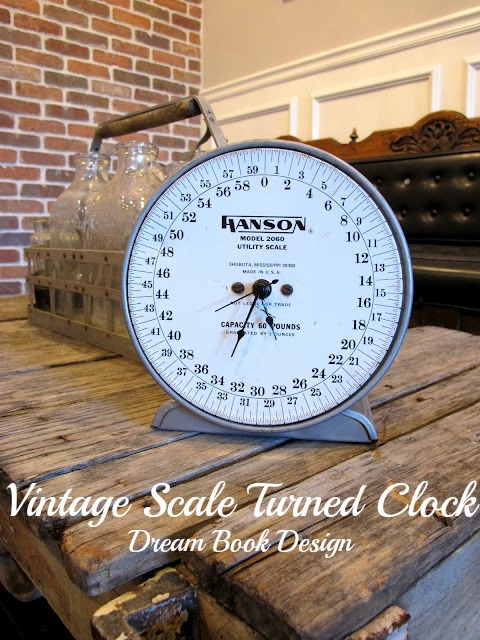
Over here at the Dream Book we love love love to turn things that have no function into very functioning things. We have a passion for all things vintage {duh, thats why I married an older guy;) } and when we saw these vintage scales we loved them in an instant. The problem was that they both were missing crucial parts, the top weighing platform. We knew we wanted at least one of them in the new kitchen makeover, but two was a little too ‘much’, even for us. We {aka, J} had the brilliant idea to transform one of the non-functioning scales in to a rad clock. Best part, all we had to do to make this transformation happen was purchase a $6 clock kit from Michaels, and risk getting tetanus {oh you know what i’m talking about, the thing that you get the tetanus shot for, what is it exactly anyway, rusty metal cuts?!} Either way, be careful, because it is working with rusty metal {in most cases}. Although if you’re wanting to revert the metal to its former glory, you could Check top 10 pick on tools specialist blog for their opinion on the best rust conversion liquids you can use on the necessary pieces of metal. So, the clock… Here is how we did it:
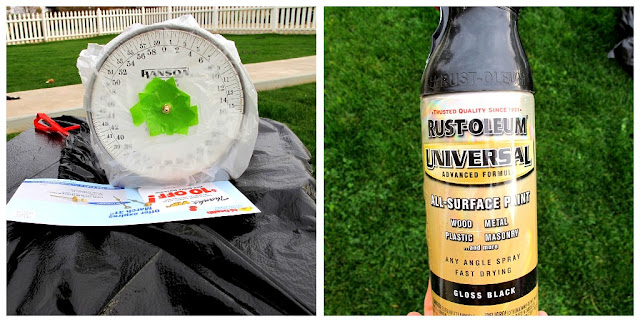
Here is what our set up looked like:

Steps:
- Unscrew the side bolts that are holding the scale together
- Once bolts are removed, remove the pins that are holding the casing together


- Remove the casing and take out the ‘guts’ {pretty much everything thats inside} You may have to use a chisel and hammer to break a screw or two
- Unscrew the face plate, which is held together by the two screws in the center
- Remove the scale hand, also remove the pin that holds the scale hand from the back {side note: we tried to use the original hand as the minute hand, but it was too heavy for it to work. Maybe by using a larger clock kit next time, we could use it}
- Insert the clock kit mechanism through the whole that the hand pin was in

- Screw the face plate back on, we had to shorten the screws using a chisel and a hammer, since the clock kit is directly behind the face, because now the clock kit is blocking the screw
- Insert the hands of the clock in order:hour,minute,second
- Put the casing back together and insert pins, and tighten blots at the end of the pins
- Tape off and paint the ‘clock kit’ if necessary{which is totally necessary-unless you like the look of cheap shiny gold}
- After painted, reattach the clock hands, and watch that baby tick

Here is a progressive shot:

You likey?! We like how at a glance it still looks like a scale, yet when you really look you realize its actually a working clock. Subtle, yet awesome! Hooray for making vintage non-functioning items functioning and rad.

So creative! Where do you guys cone up with these ideas??? Lol.
Great idea J! Thanks for posting Adri you guys always suprise and inspire me :+)
OMG, seriously, this is GENIUS!
What a lovely idea. Thanks for sharing 🙂
Amazing idea; fabulous execution!
What a cool idea! I love it! I am featuring it at somedaycrafts.blogspot.com.
that is so cool! looks great. this is a great idea. thanks for sharing this at my party!
What a cool idea! I love vintage scales and you made this one useful.
xo,
Sena
THis is such a great idea! I would love to feature this on my blog, Reduce, Reuse, Upcycle. Feel free to drop by and grab a featured button. Thanks!
http://reuseandupcycle.blogspot.com
Thanks for featuring it Rachel! Hope your readers enjoy the post:)
<3,
adri
i featured you!!! http://typeadecorating.blogspot.com/2011/04/anything-goes-party-11.html
love. i swear my nana had that in her kitchen!
thanks for linking to creative juice…
That is SO cool! I love it! What a great idea . . . I can honestly say I NEVER would have thought to turn that scale into a clock! So creative!
Rachel @ Maybe Matilda