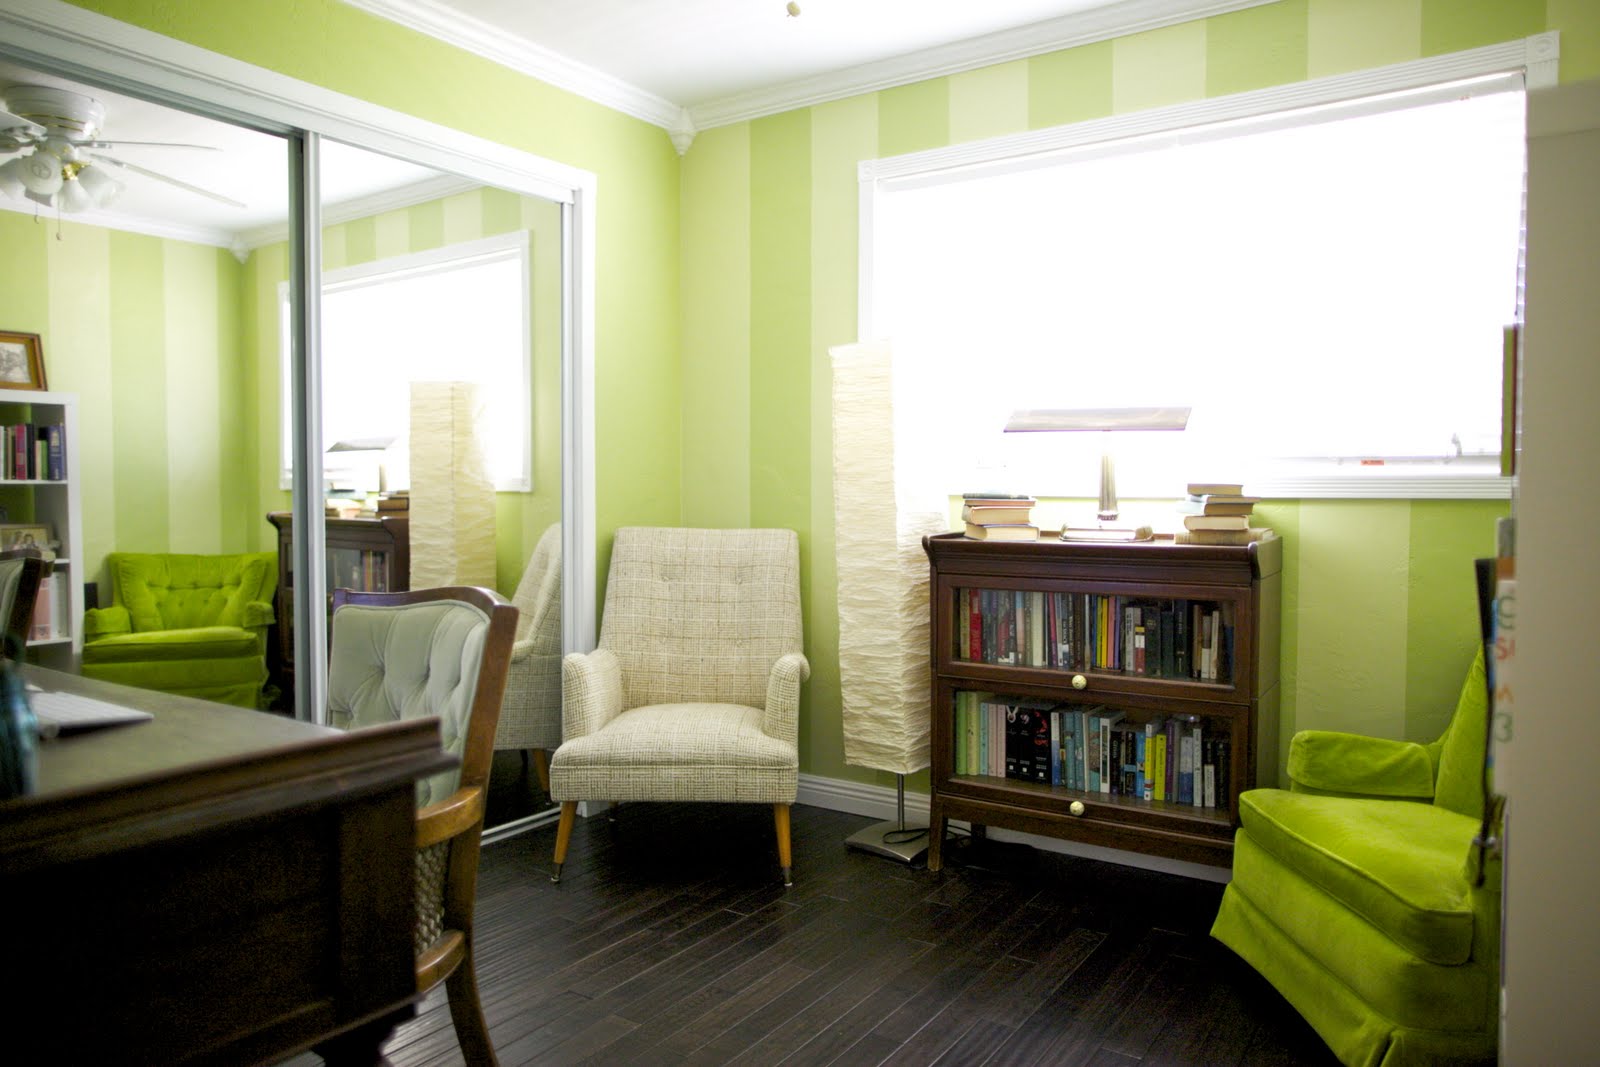
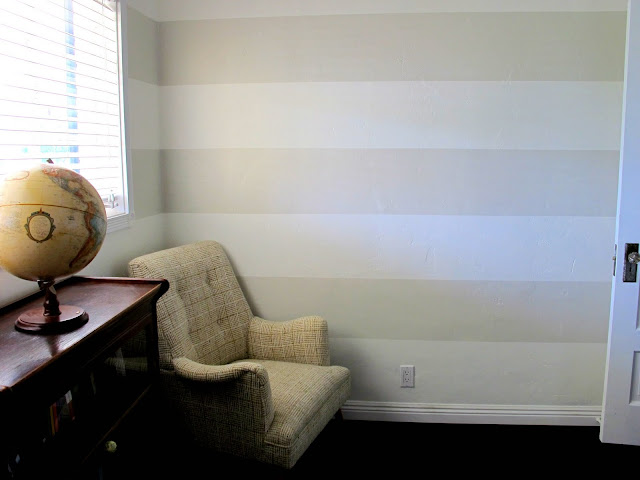
The office painting is finished, and we couldn’t be happier with the outcome. It is so nice walking by the room now and not seeing this:
 |
| Melissa Young Photo |
 |
| obviously not a Melissa Young Photo:) |
The whole atmosphere and feel of the room has changed drastically. Its like all of a sudden I can feel calm and have peace in my office, instead of feeling like I am in a circus {or as my friend Kylie says, in Blue Clues} It feels to me like this new paint is oozing out new ideas for me to work on. I just can’t wait to start working in this new environment. I am also planning to incorporate some bookshelves, and a few brand-new desk supplies may be from the ones suggested at Merchant Alternatives or a similar platform. Whatever I choose, I would make sure that those things complement the overall decor of my new office space. After all, we have put so much efforts in giving it a new look by choosing the best color of paint.
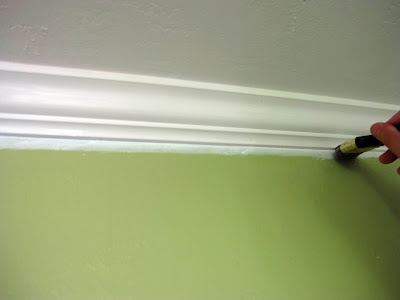
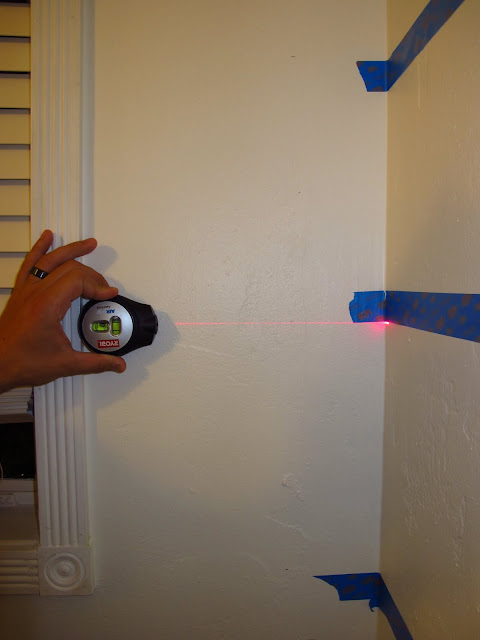
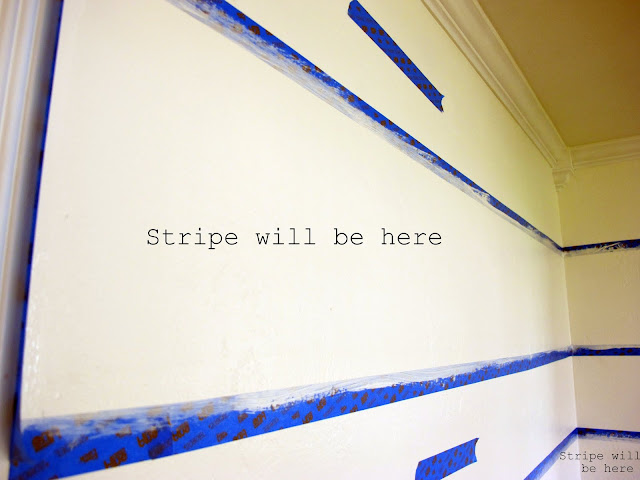
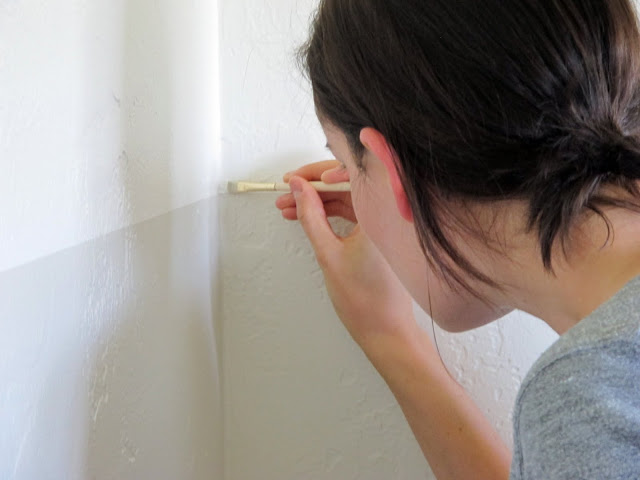
I know that it’s a lot easier just to hire a Charlottesville painting contractor to make sure it’s done perfectly (and I know most of you will do that instead!) but here is how we accomplished the stripes with only a few glitches:


Just out of curiosity…what color did you paint the stripes? Thanks!!
Looks great!! I’ve been bracing myself to attempt vertical stripes in our bedroom. We have that same laser level so I think with your tips I might be able to do it!
Great tutorial! You two are so thorough! Love the neutral stripes 🙂
Amazing job! I am so in LOVE with your style! I will definitely be coming here for inspiration when we have the funds and a house to change our current “look”. Thanks for being awesome! 🙂
looks great!!!
It’s beautiful!
GREAT tutorial!!! I’m putting it in the PoPP Spotlight.
I LOVE the stripes!! Glad that I’ve discovered your blog too!
What color are your stripes?