Yesterday I showed y’all how we made our own tufted headboard, and now i’ll show you just how ridiculously easy it is to cover your own buttons. When J and I decided we were going to do this headboard we thought we were going to have someone cover the buttons for us. We had heard that you could find a shop that does them as cheap as a few bucks a button. Initially thinking that the project could be hard, I called around a couldn’t find a place willing to do them. This left me with thinking “what the heck, I could probably do this myself”. Um, ya. Covering these buttons was about the easiest thing i’ve ever done!
Supplies:
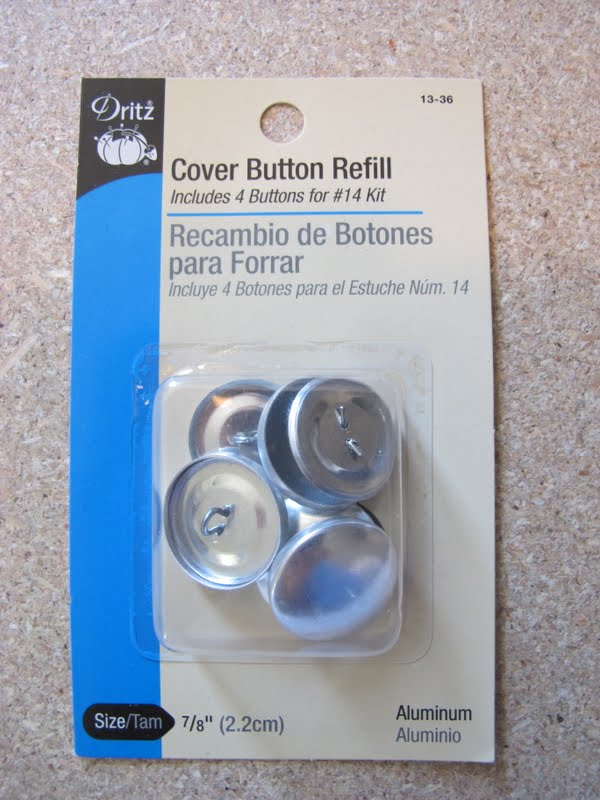
- Button cover kit
- Fabric

Step two: Cut out all circles {very tricky, i know i know;) }.

Step three: Place your fabric centered on top of the rubber mold. Place the shell over the fabric, and push in.

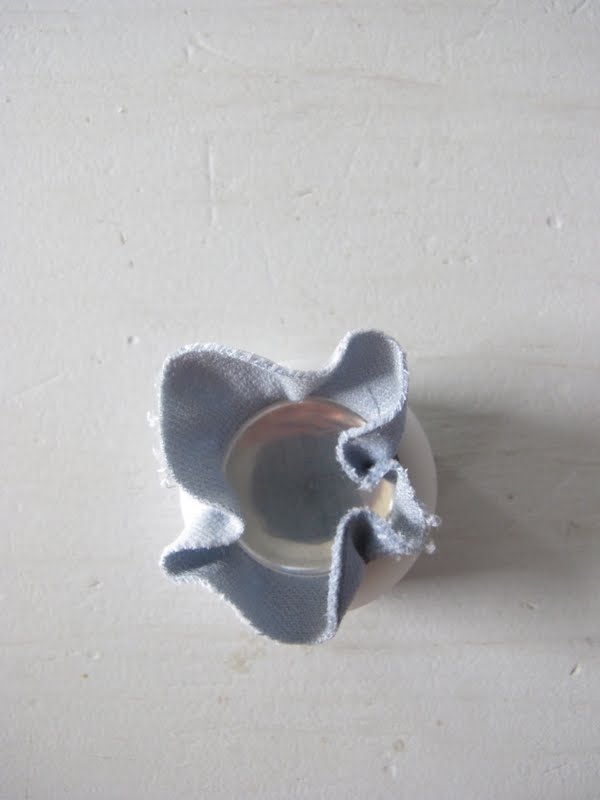

Step five: Use the pusher to secure the back to the button. This requires some strength when using a thicker fabric.

Step six: Take out of the mold, and your finished! You successfully just made your own button cover. How freaking easy is that! And cheap!


Ooh, helpful. Your blog gives me encouragement to dive in and get going on projects all the time. I think I just never know how easy/difficult a DIP project will be! xoxo
Where did you find the button covers? I looked at Joanns for this project: http://www.indignantcorgi.com/2011/06/23/a-headboard-fit-for-a-king-a-queen-pt-2/. We ended up not tufting but for future reference…
thanks!
Chelsea- That makes me so happy to hear. Now get to work;)!
Kat- I got them at Joanns. They didnt have plastic button cover kits {which is usually better for a thicker fabric} but they had the metal ones. You can always try Amazon too. Hope that helps!
<3,
Adri